
Getting Started
This guide walks you through creating an account, signing in, running your first vulnerability scan, and reviewing results in Panoptic Scans.
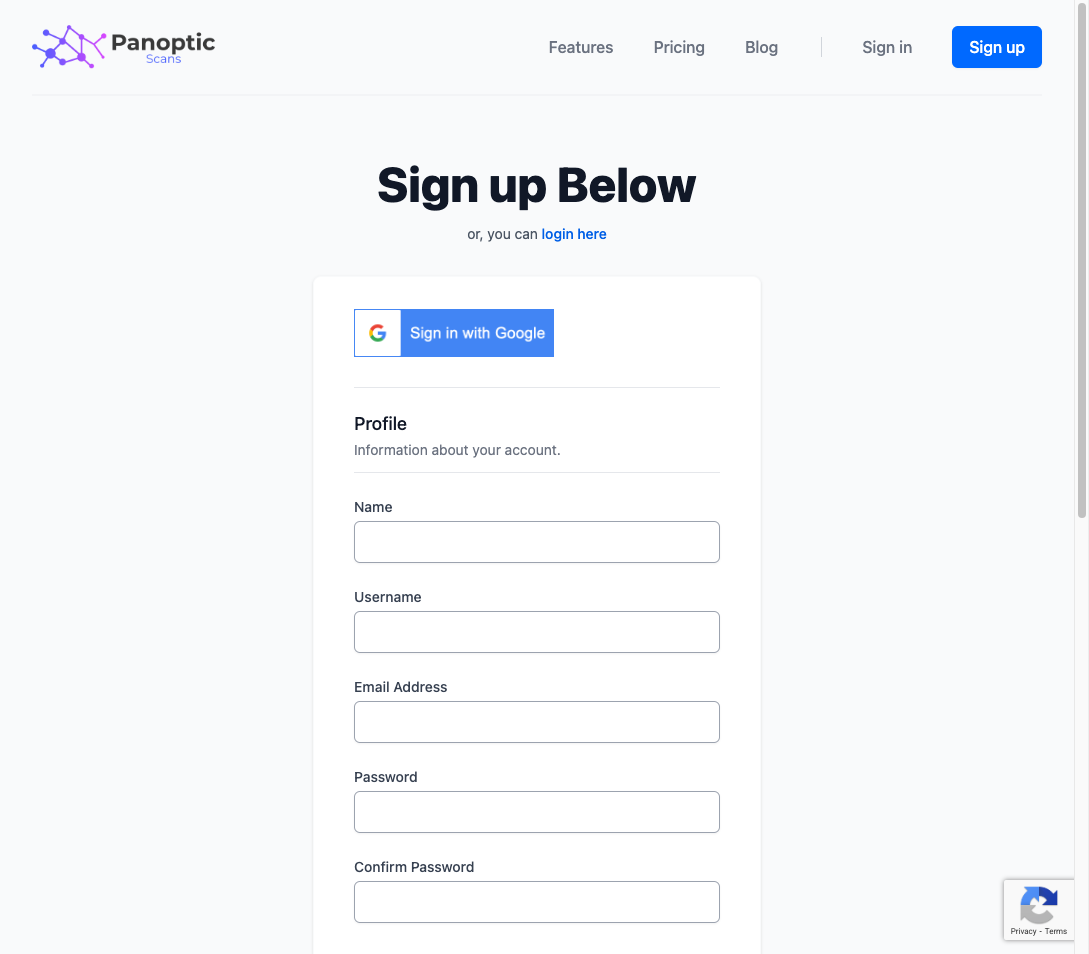
1. Create an account
Open the registration page (or go to panopticscans.com/register). Enter your name, username, email address, and password, then submit the form. Check your inbox for a verification message and confirm your email address before signing in.
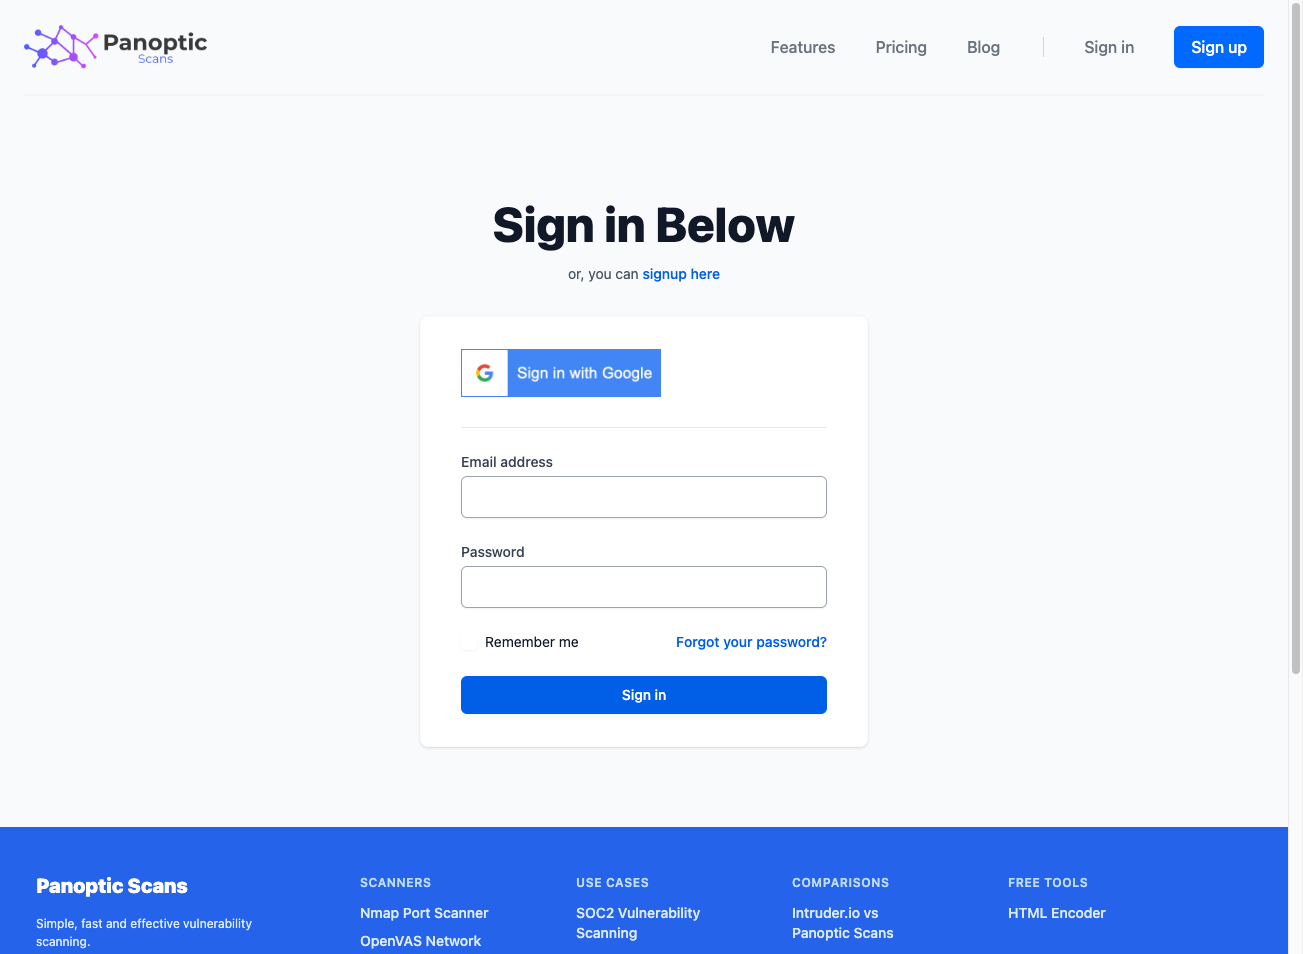
2. Sign in
After your email is verified, open the sign-in page at panopticscans.com/login and log in with your credentials.
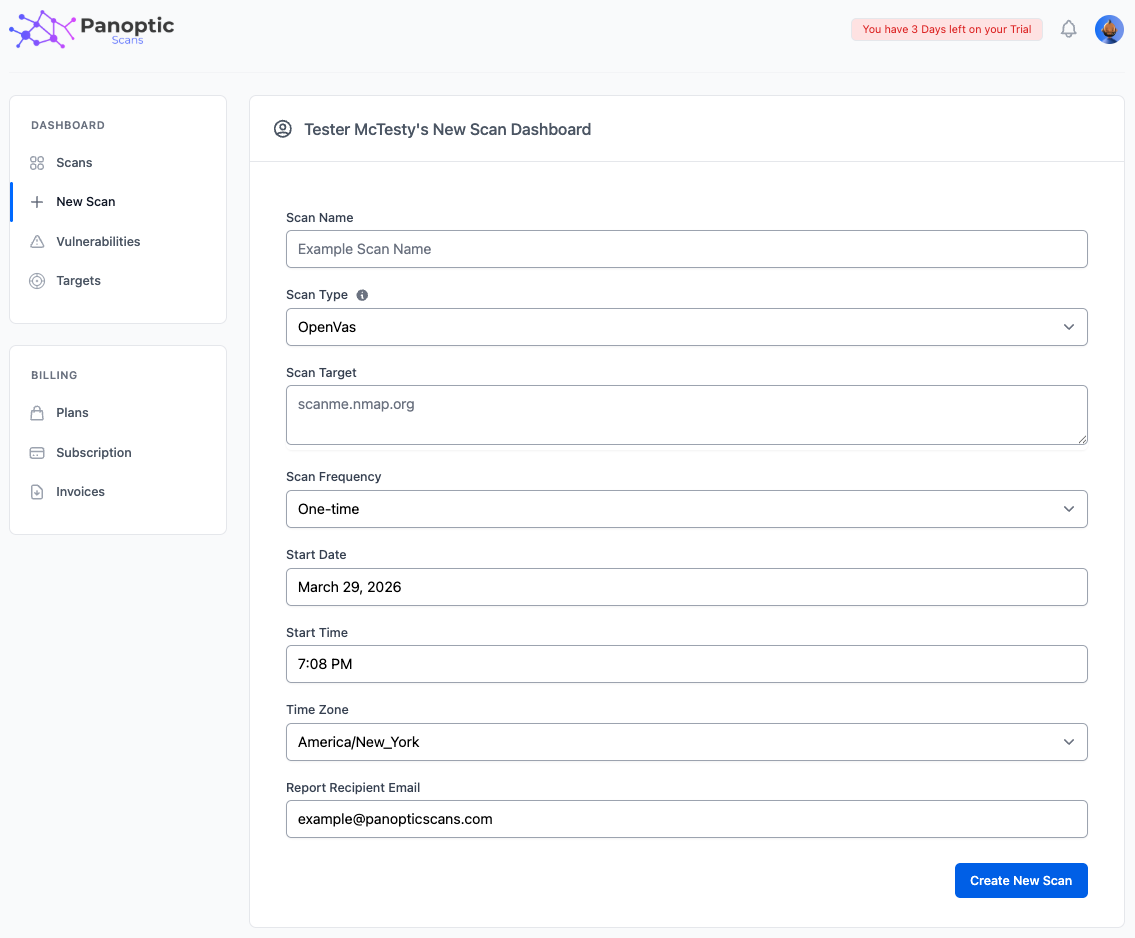
3. Create your first scan
From the dashboard, click New Scan. Choose a scan type that matches what you want to assess, enter your target (hostname, IP, or URL as prompted), set an optional schedule, then click Create to queue the scan.
Available scanner types include:
- OpenVAS — Network and host vulnerability assessment using the Greenbone vulnerability tests feed.
- ZAP — Dynamic application security testing (DAST) for web applications and APIs.
- Nmap — Port scanning and service discovery to map exposed services on your target.
- Nuclei — Fast, template-based scanning for misconfigurations and known issues across many technologies.
4. Review results
When the scan finishes, open the Scans page to see status and open any completed run. Review listed vulnerabilities, severities, and details, and use the platform tools to filter, export, or drill into individual findings.
Tip: For your first scans, use a non-production or staging environment when possible. That lets you learn how results appear and how scanners behave without affecting live systems.
What's Next?
Continue with these guides to go deeper:
- Running Scans — Options, scheduling, and scanner-specific settings.
- Vulnerability Management — Working with findings over time.
- Scan Results & Reports — Reports, exports, and interpreting output.